> ## Documentation Index
> Fetch the complete documentation index at: https://docs.mesha.fun/llms.txt
> Use this file to discover all available pages before exploring further.
# Start Trading
> Mesha is tap trading. One tap, one prediction — no orders, no leverage, no jargon.
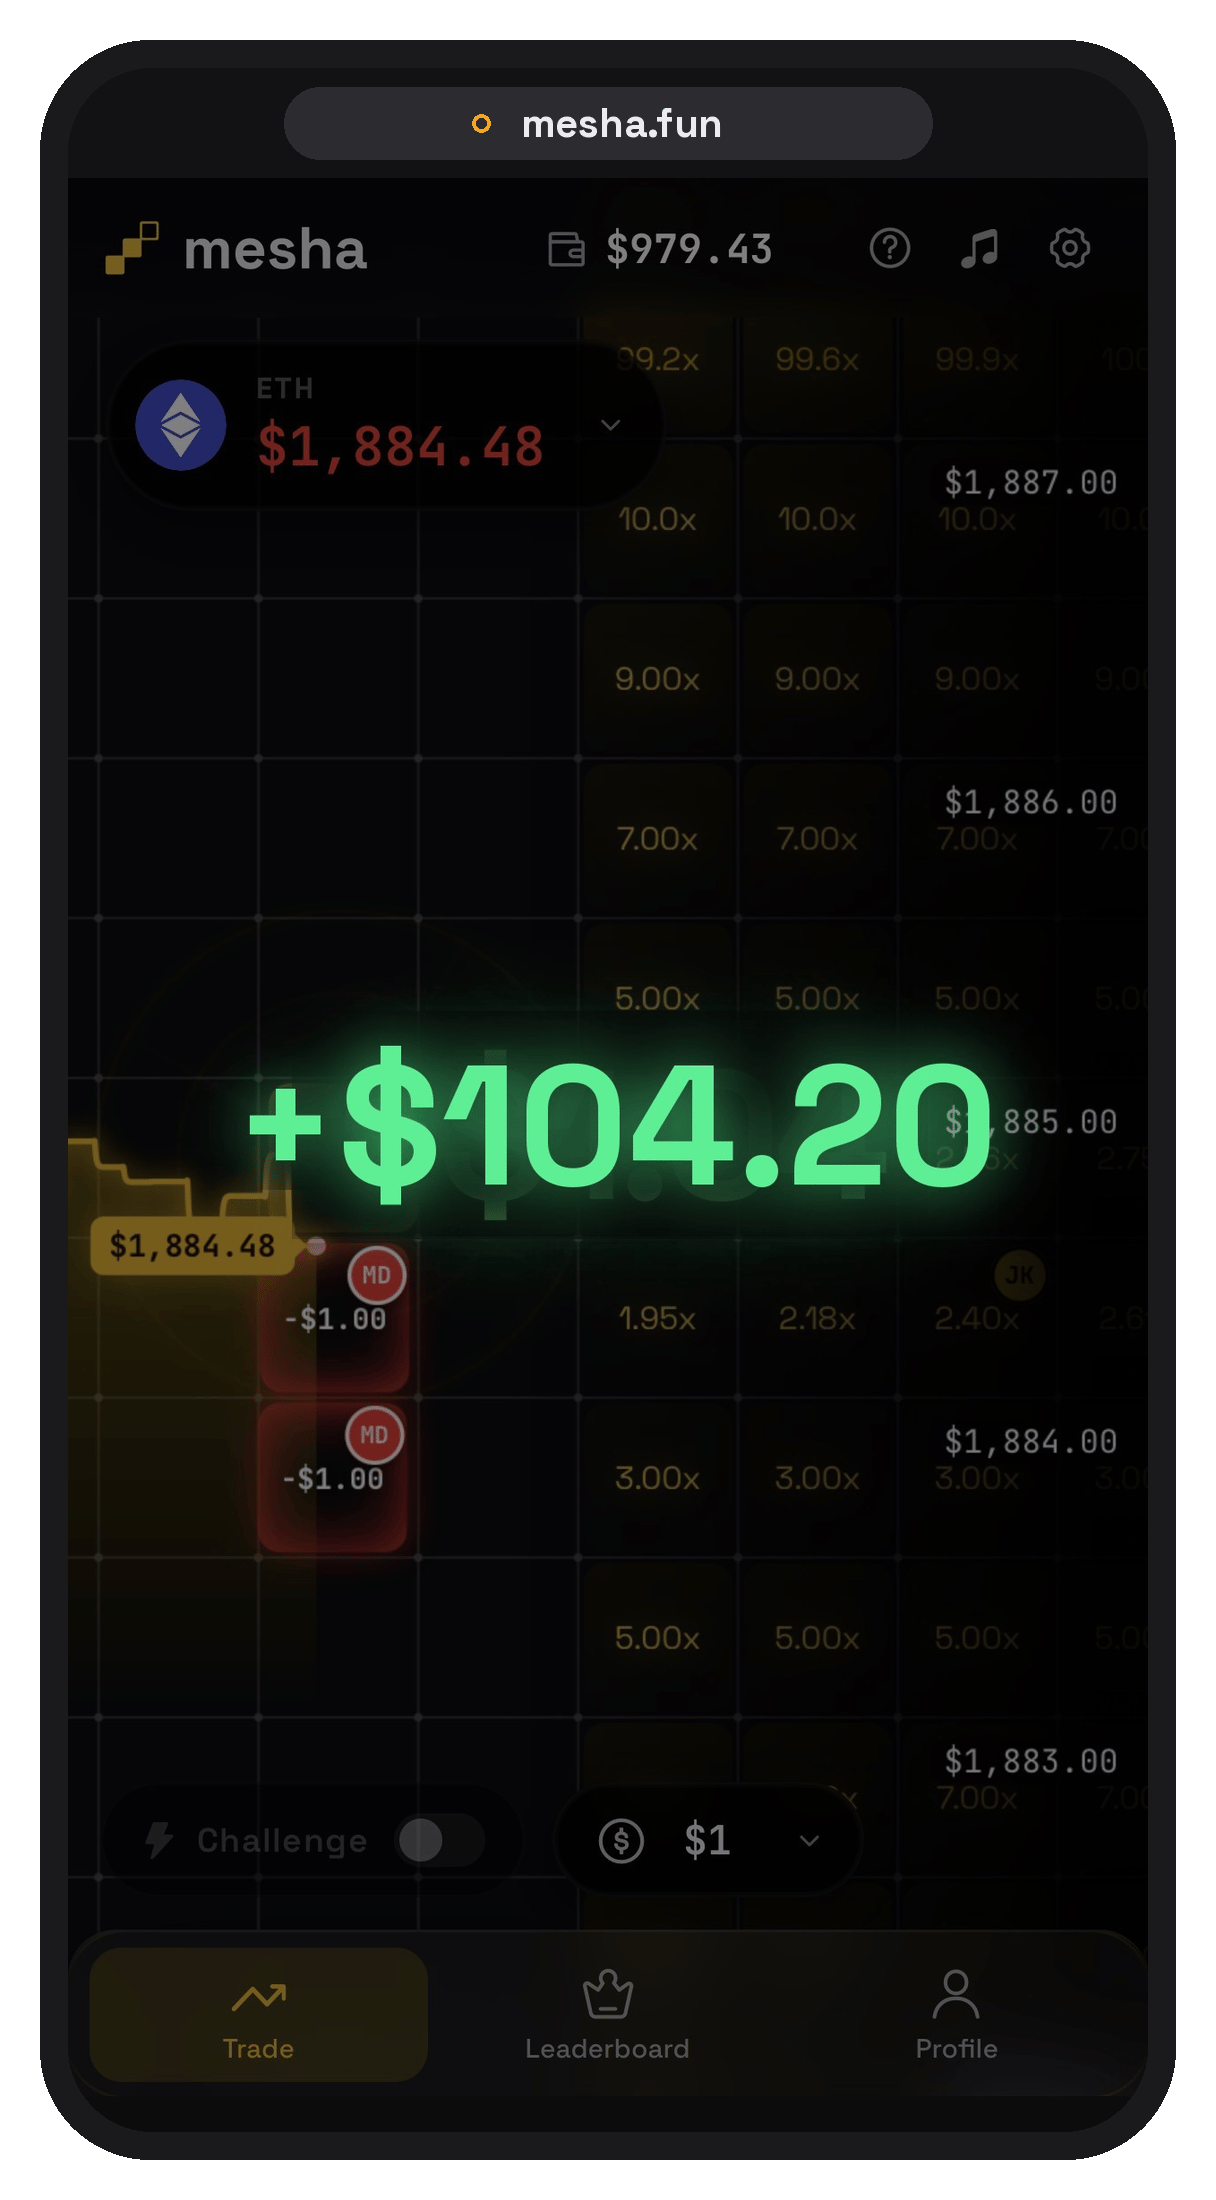
Mesha is tap trading: a live chart covered with a grid of price zones — **tiles**. You tap where you think price will go. If price touches your tile in time, you win the multiplier shown on it.
No orders, no leverage, no jargon. One tap, one clear prediction:
> **"Price will enter this zone before time runs out."**
## Getting started
Access Mesha via web browser or mobile PWA at [mesha.fun](https://mesha.fun).
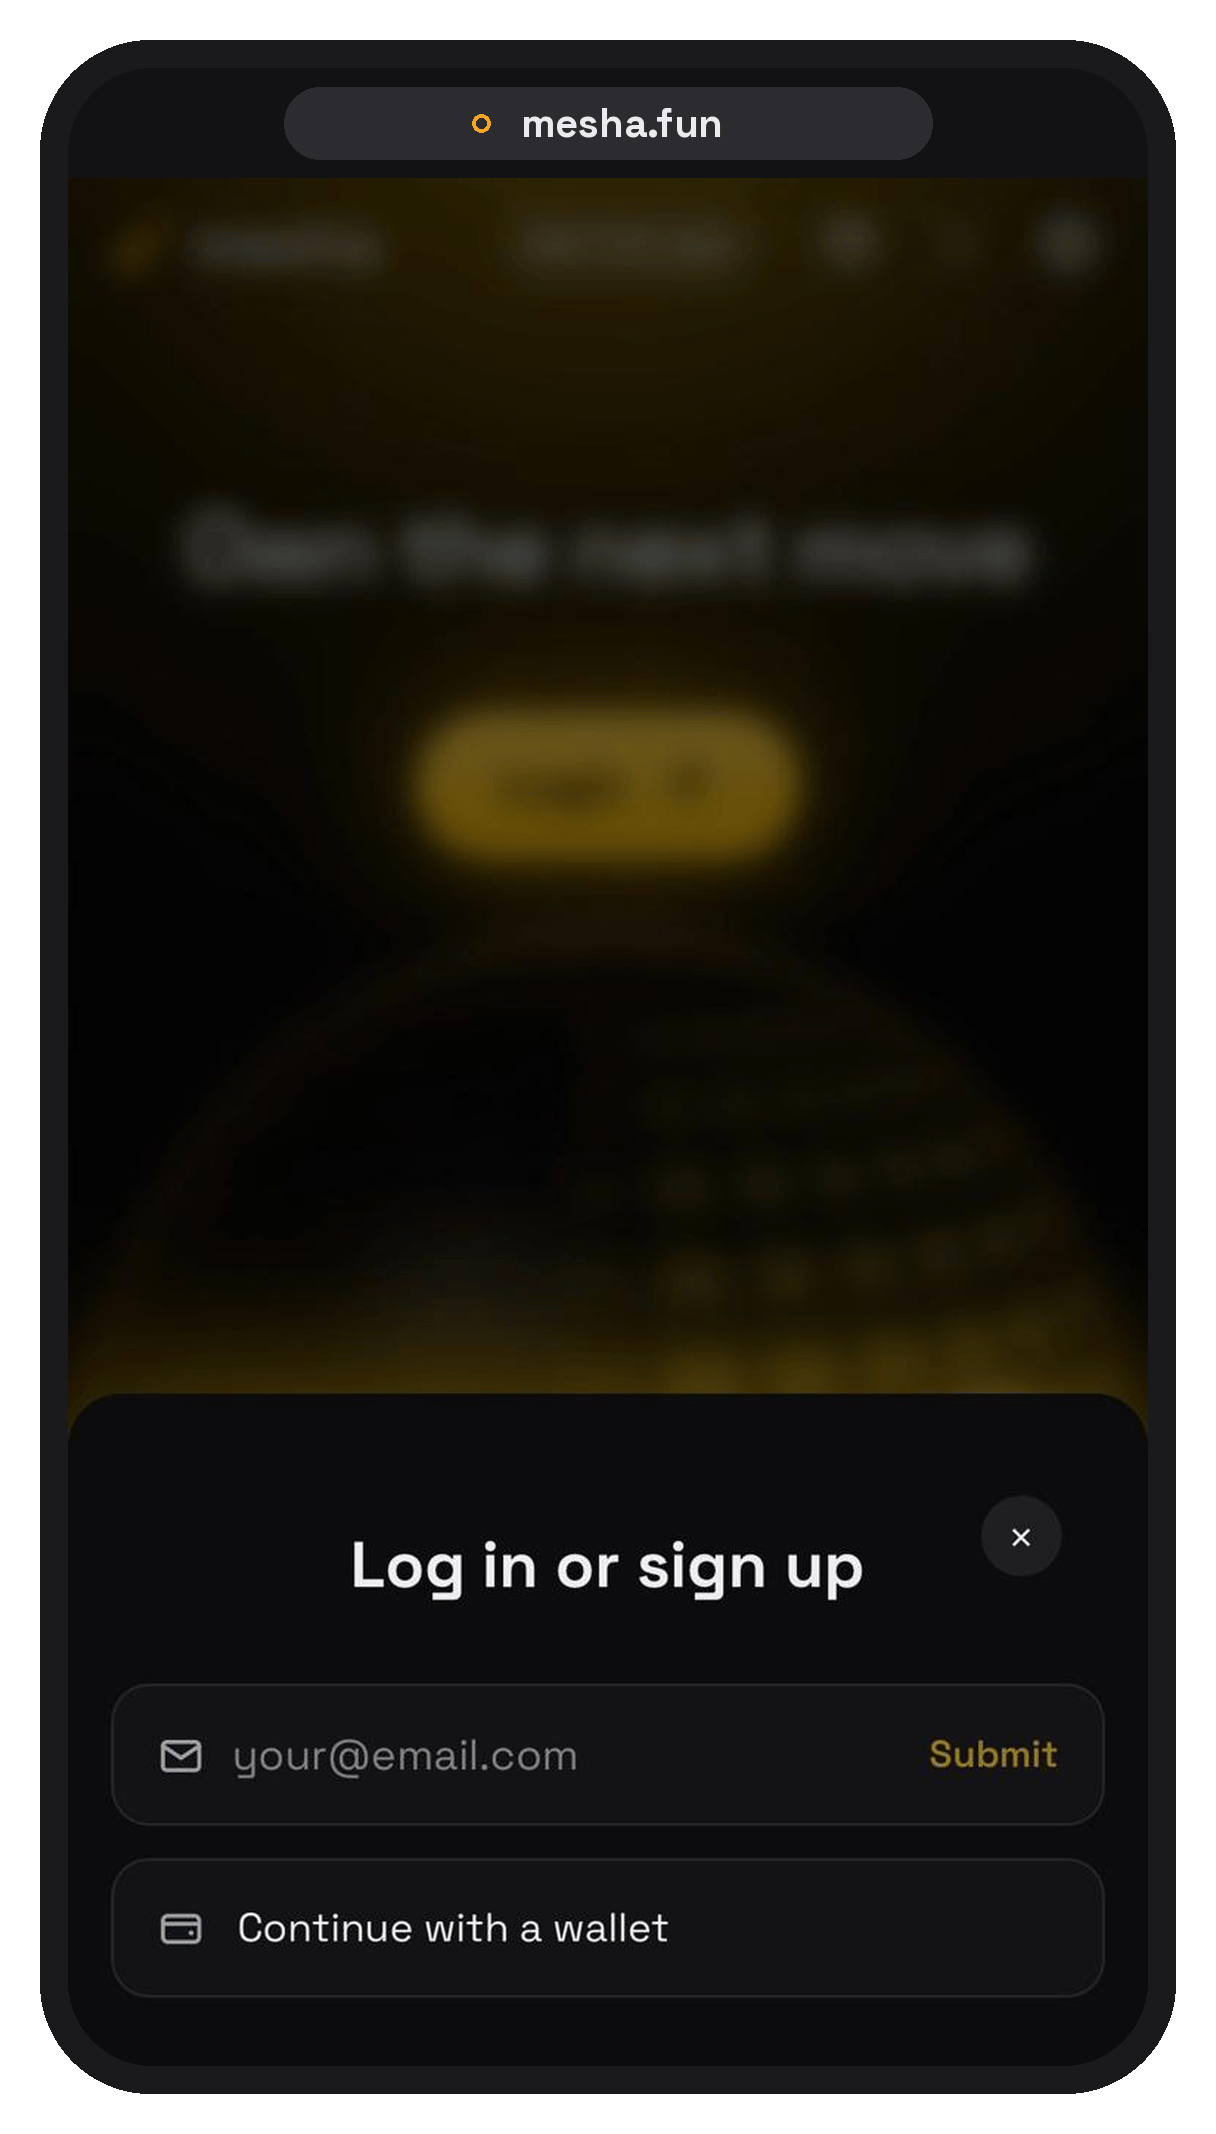
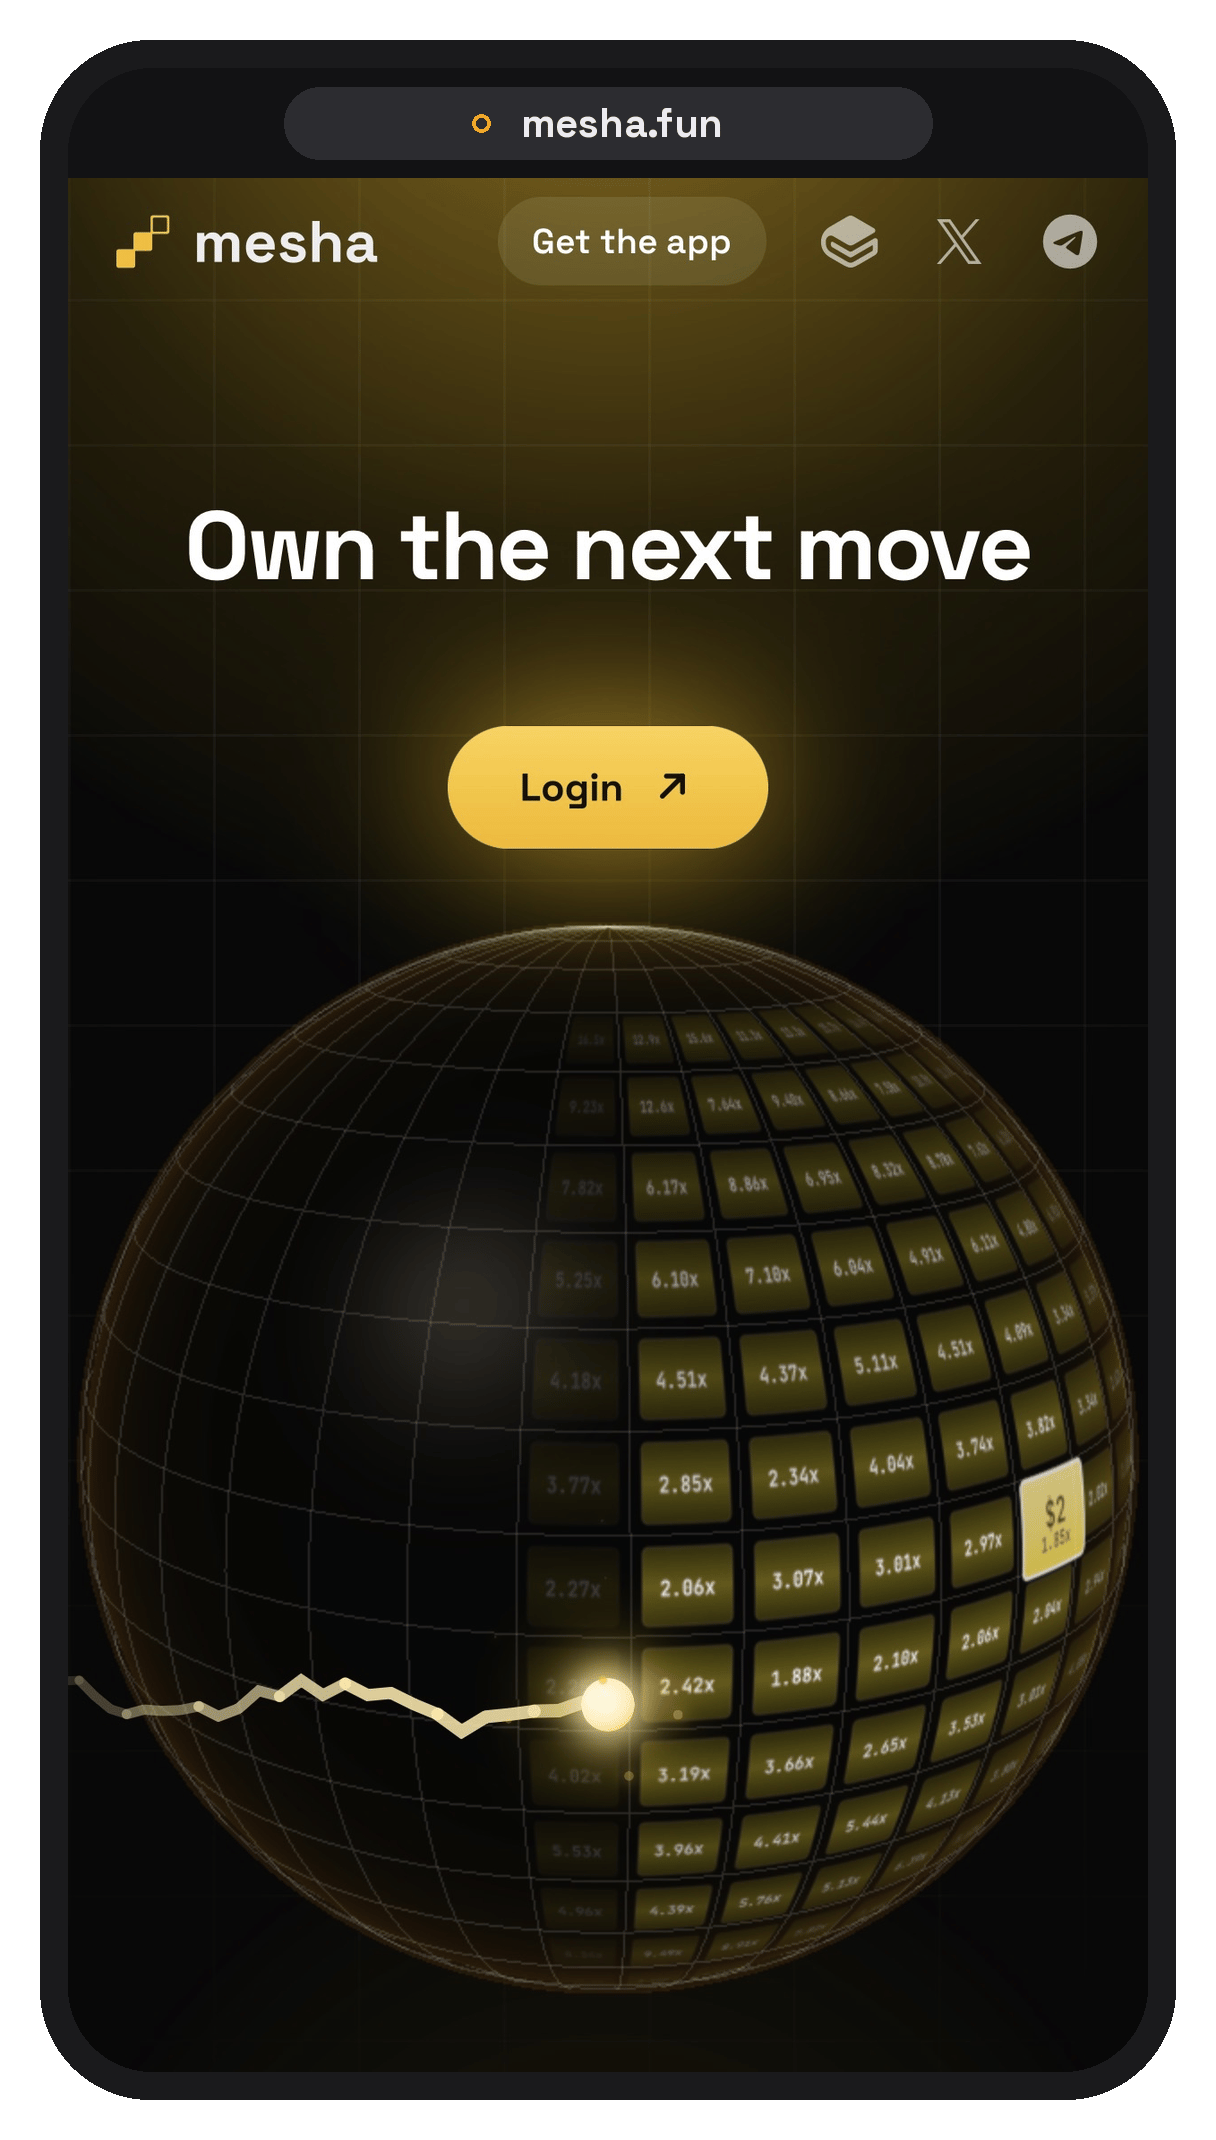 Sign up with your preferred login method.
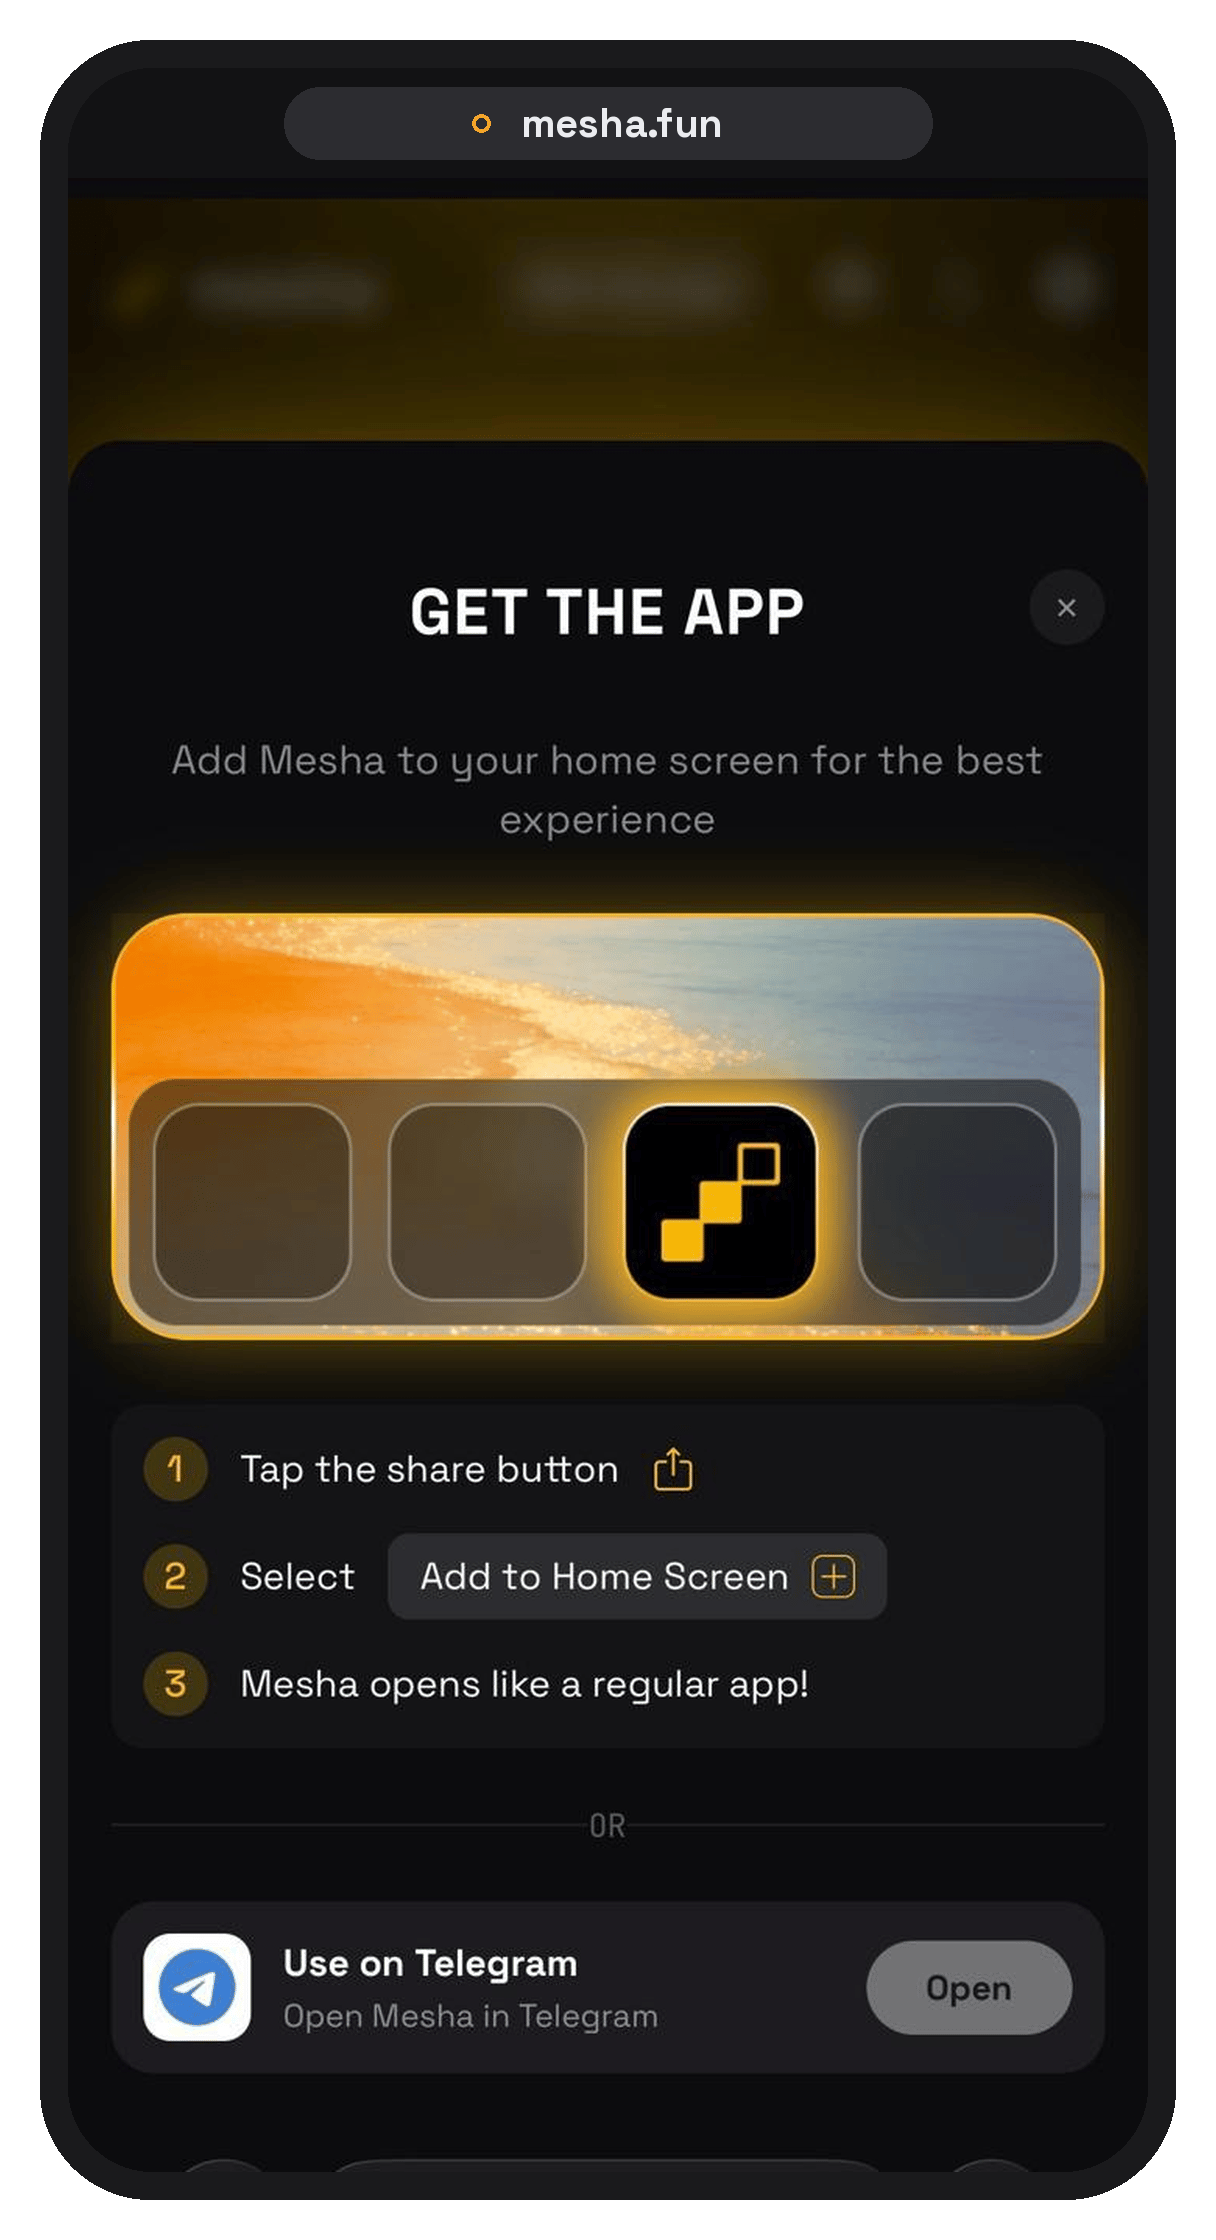
 On mobile, add Mesha to your home screen — it opens like a regular app.
 ## Fund your account
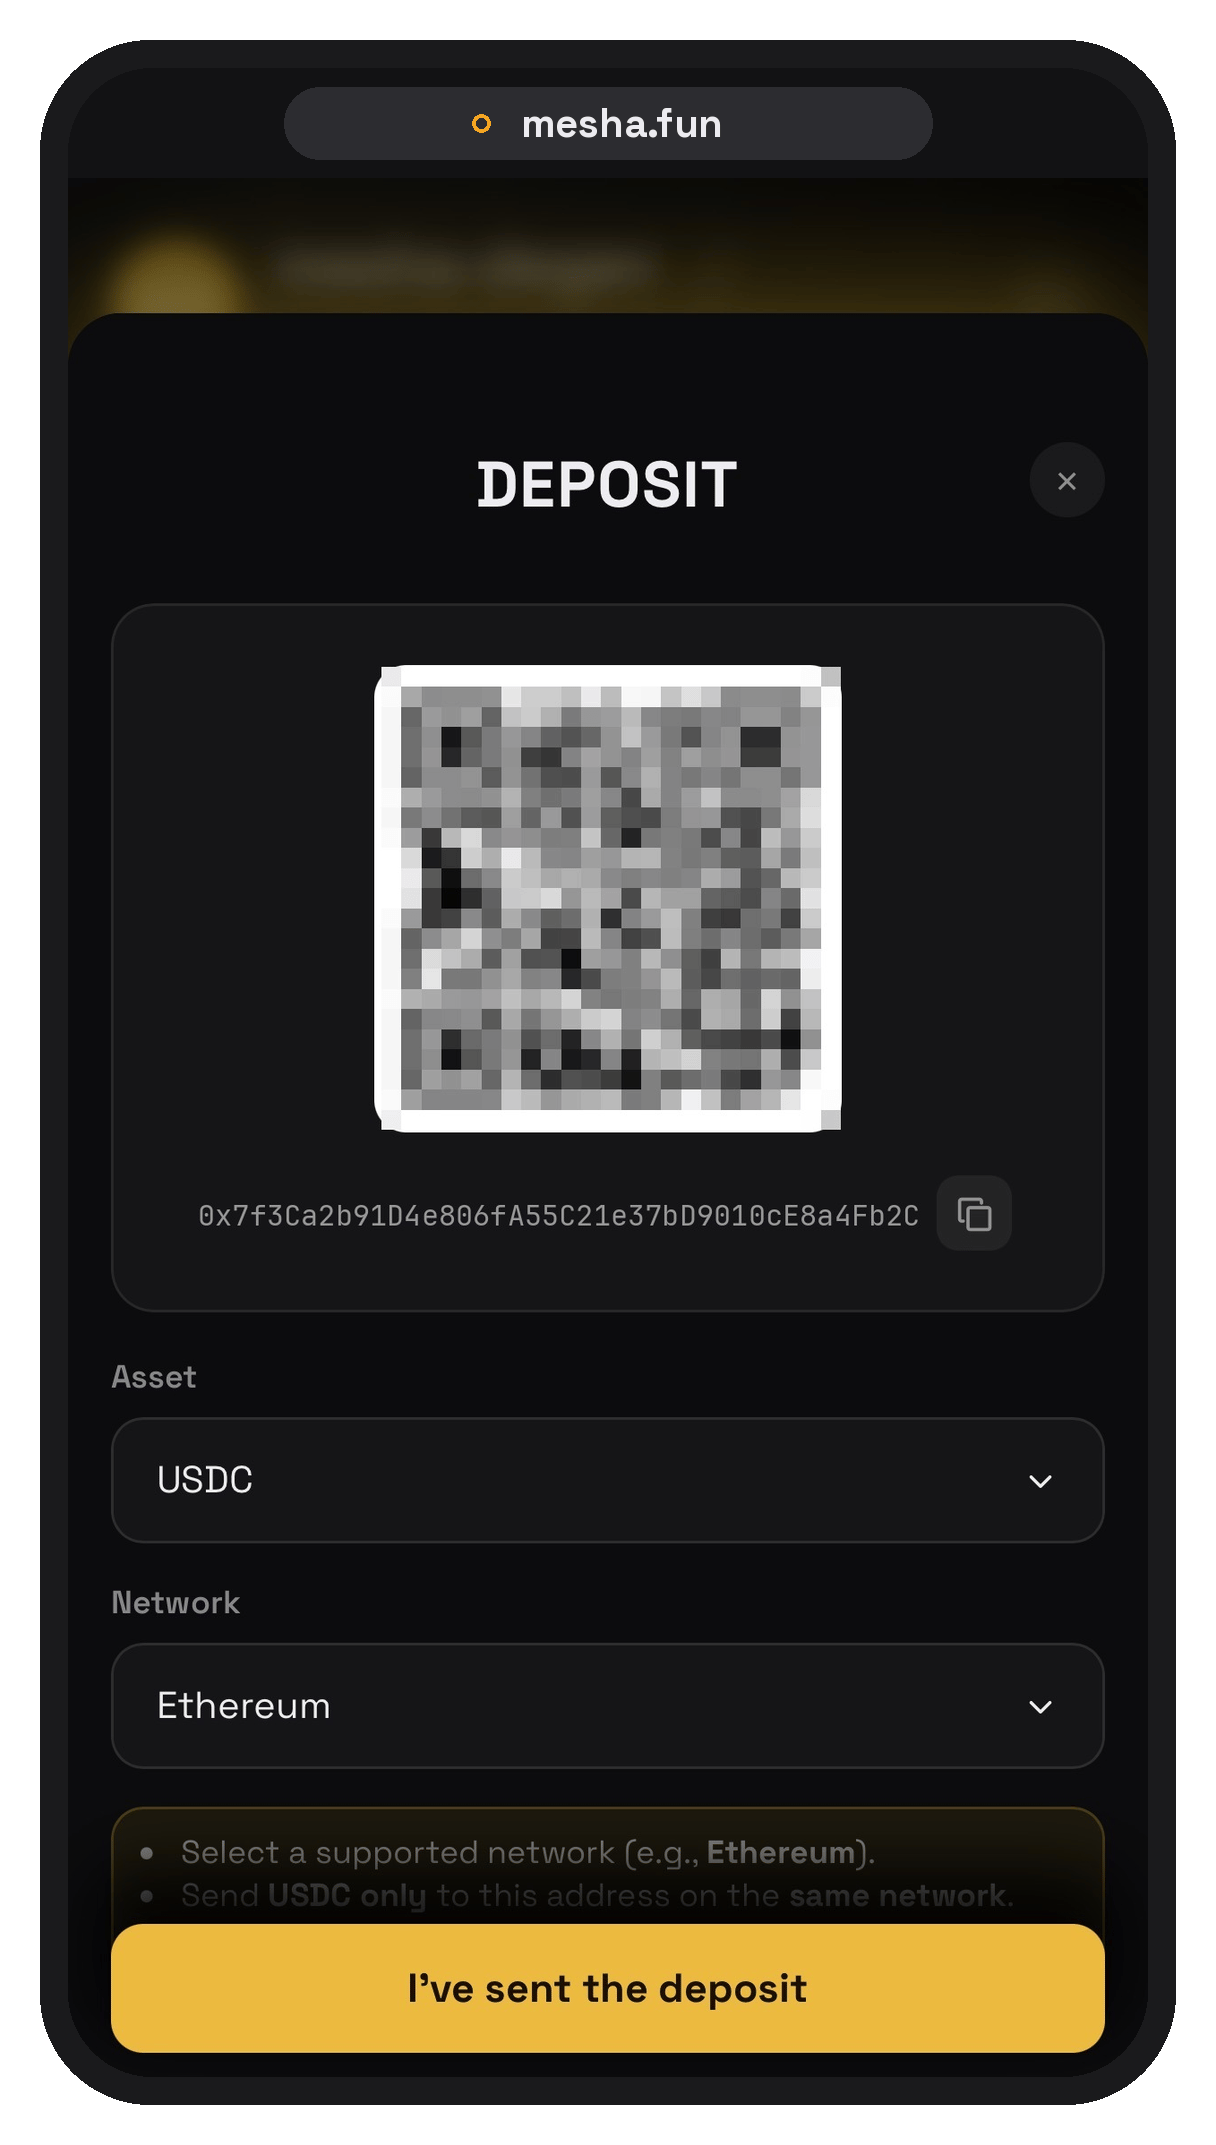
Deposit USDC or USDT from any major chain: Ethereum, Base, Arbitrum, BSC, Polygon.
## Fund your account
Deposit USDC or USDT from any major chain: Ethereum, Base, Arbitrum, BSC, Polygon.
 ## Select your tap size
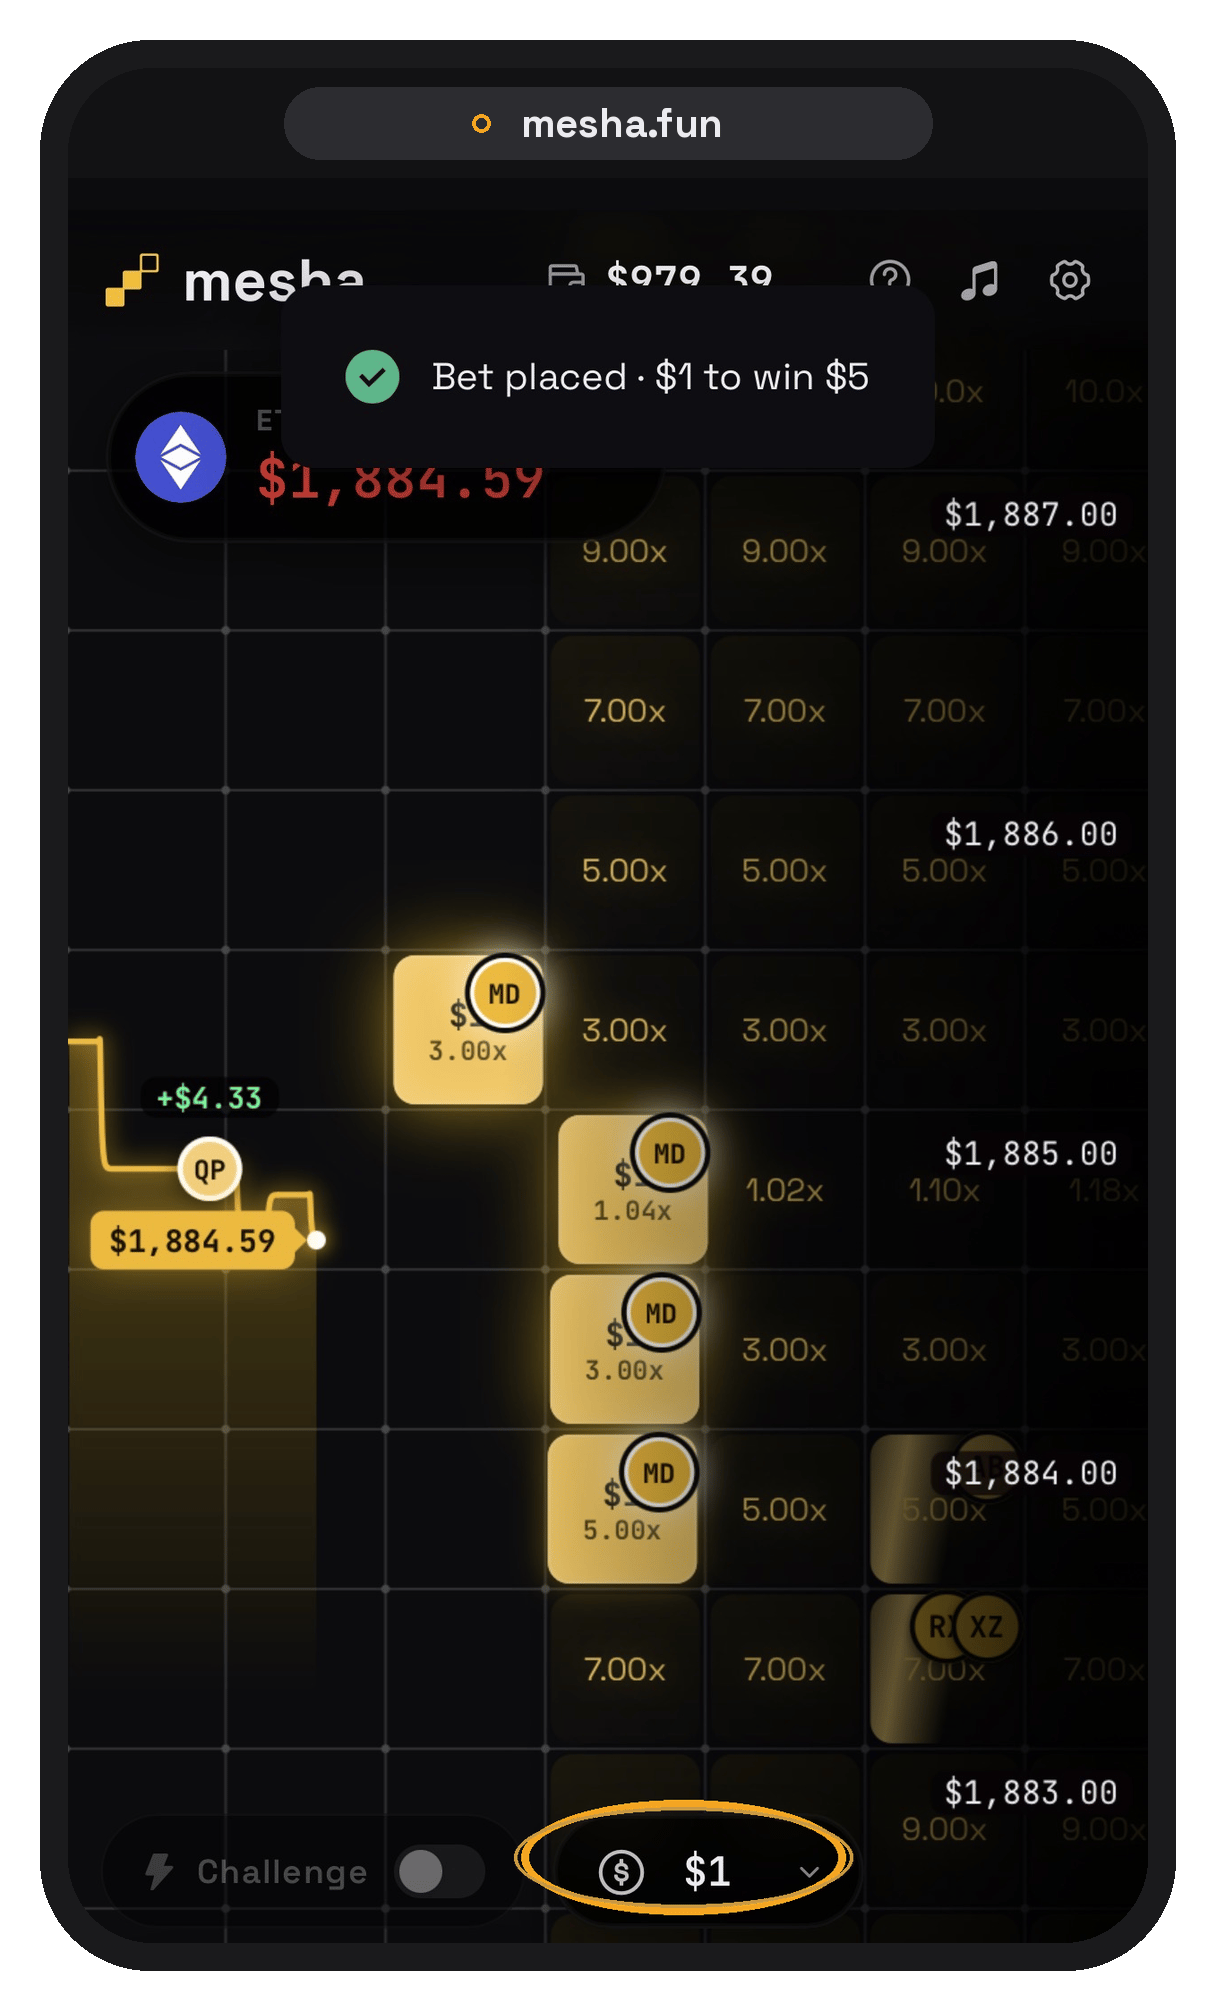
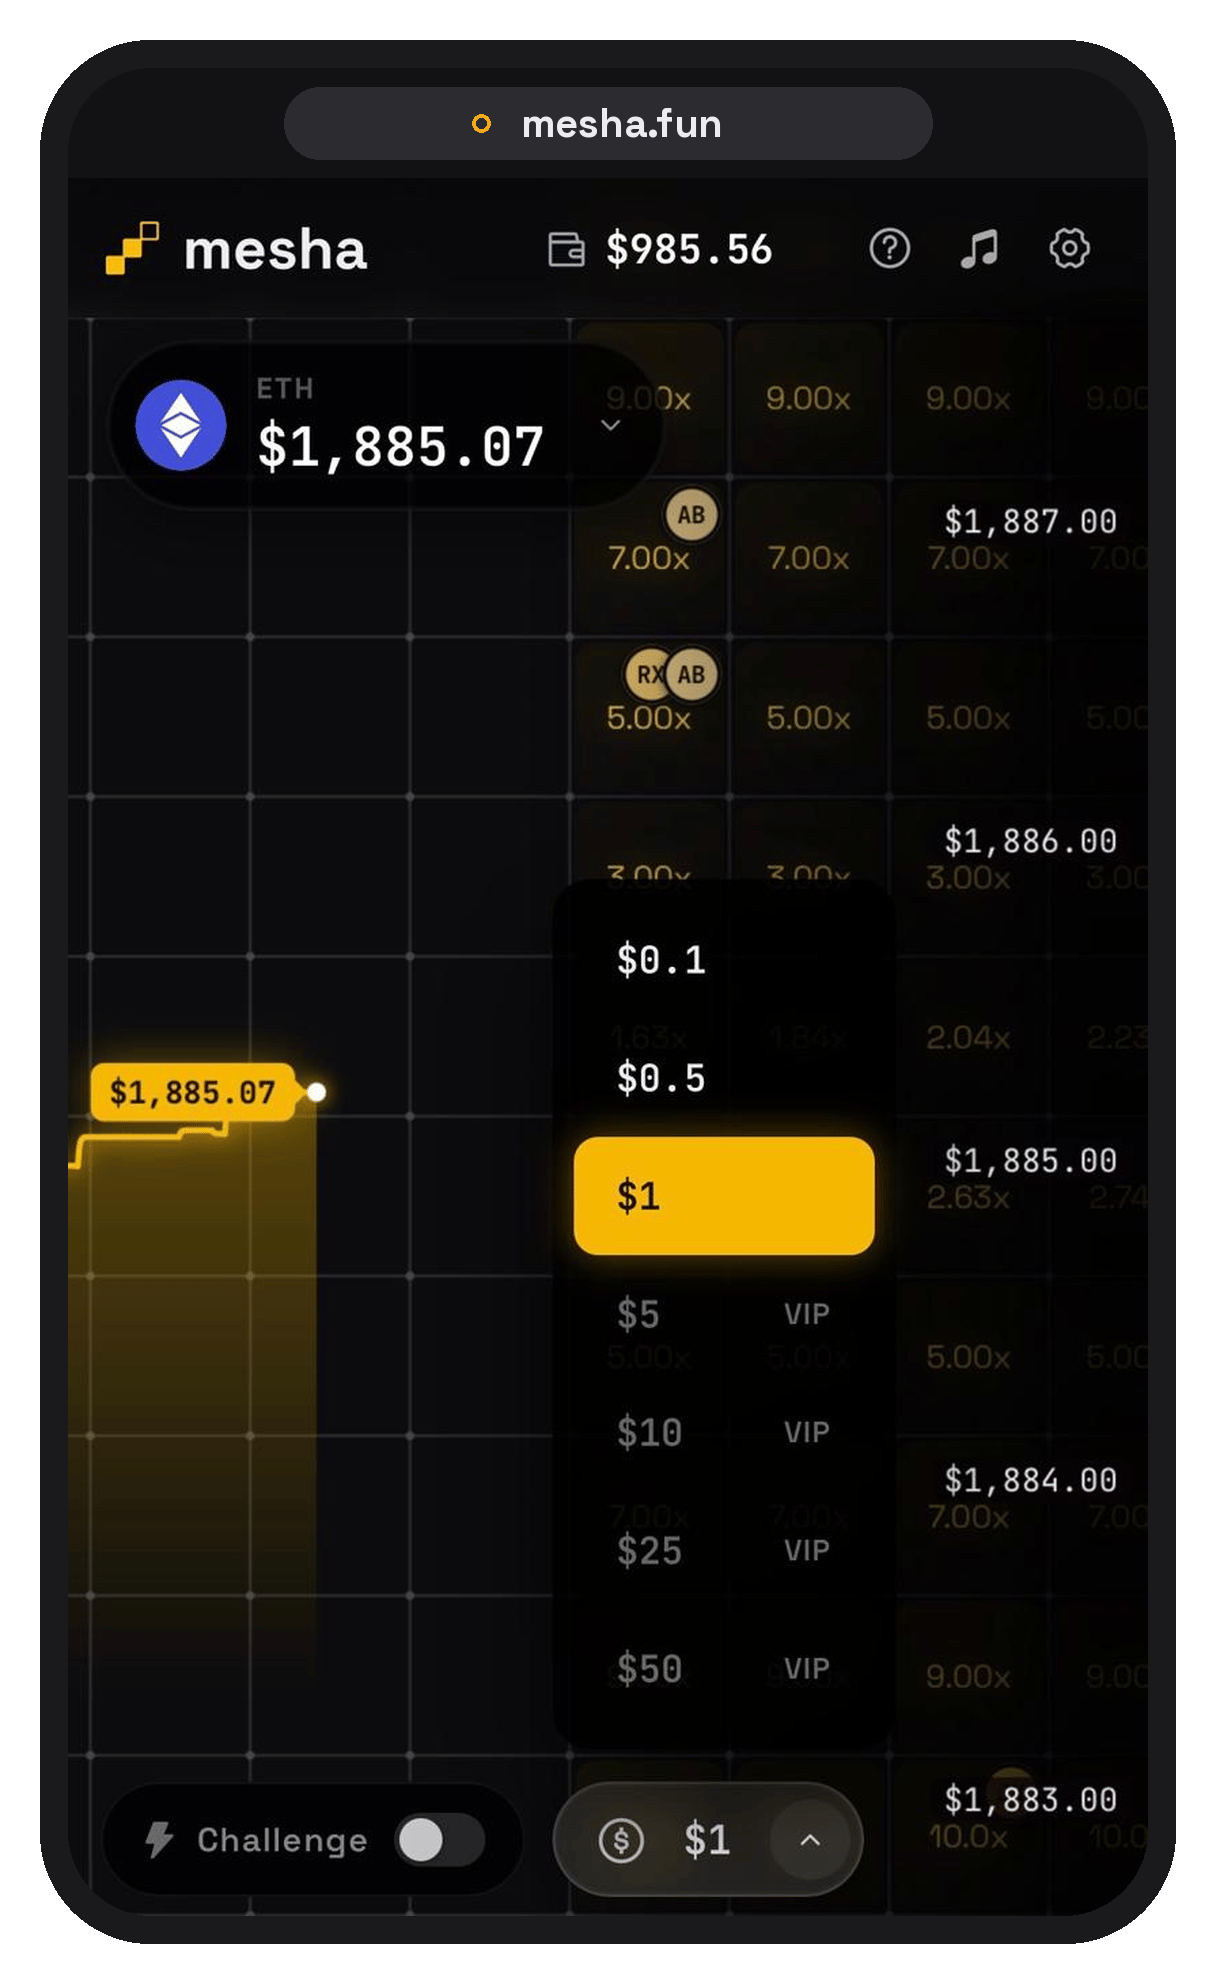
Your tap size defaults to \$1. Change it by tapping the dollar icon in the bottom-right corner. Whatever you set here is the amount you trade per tap.
## Select your tap size
Your tap size defaults to \$1. Change it by tapping the dollar icon in the bottom-right corner. Whatever you set here is the amount you trade per tap.
 ## Read the grid
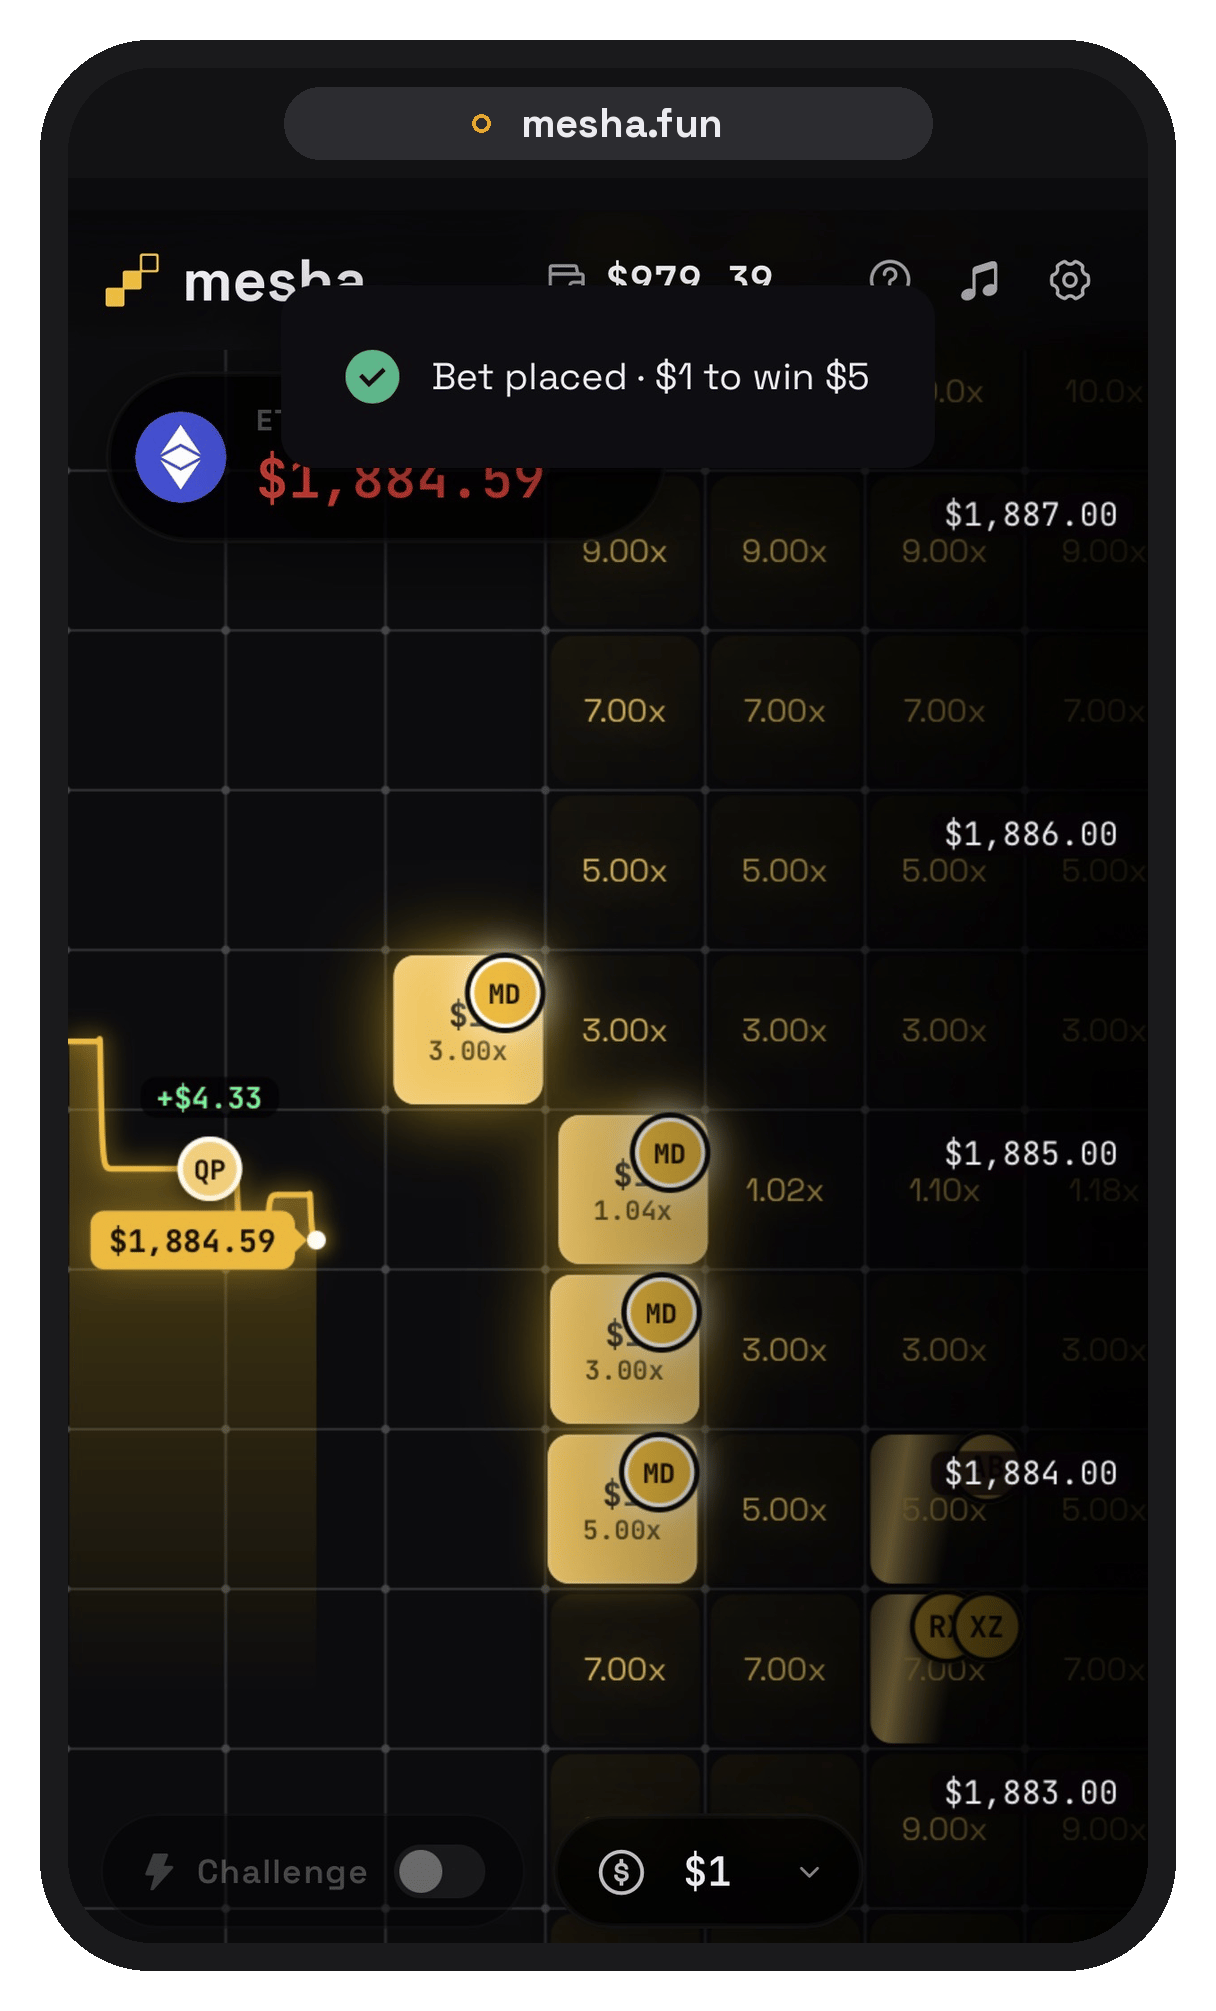
The grid is made of price zones — tiles. Each tile is a target range price can reach within a short time window.
* **Closer tiles** → easier to hit → lower payout
* **Farther tiles** → harder to hit → higher payout
Payouts update in real time based on distance, volatility, and time remaining.
## Tap a tile
Tap the tile you think price will reach to place a trade.
## Read the grid
The grid is made of price zones — tiles. Each tile is a target range price can reach within a short time window.
* **Closer tiles** → easier to hit → lower payout
* **Farther tiles** → harder to hit → higher payout
Payouts update in real time based on distance, volatility, and time remaining.
## Tap a tile
Tap the tile you think price will reach to place a trade.
 ## Know the win condition
You win if price enters your tile at any point before the price line passes it.
* It does **not** need to stay there
* It just needs to **touch the zone once**
If price never enters your tile before expiry, the trade expires worthless — you lose the amount you tapped.
## Know the win condition
You win if price enters your tile at any point before the price line passes it.
* It does **not** need to stay there
* It just needs to **touch the zone once**
If price never enters your tile before expiry, the trade expires worthless — you lose the amount you tapped.
 ## Climb the leaderboard
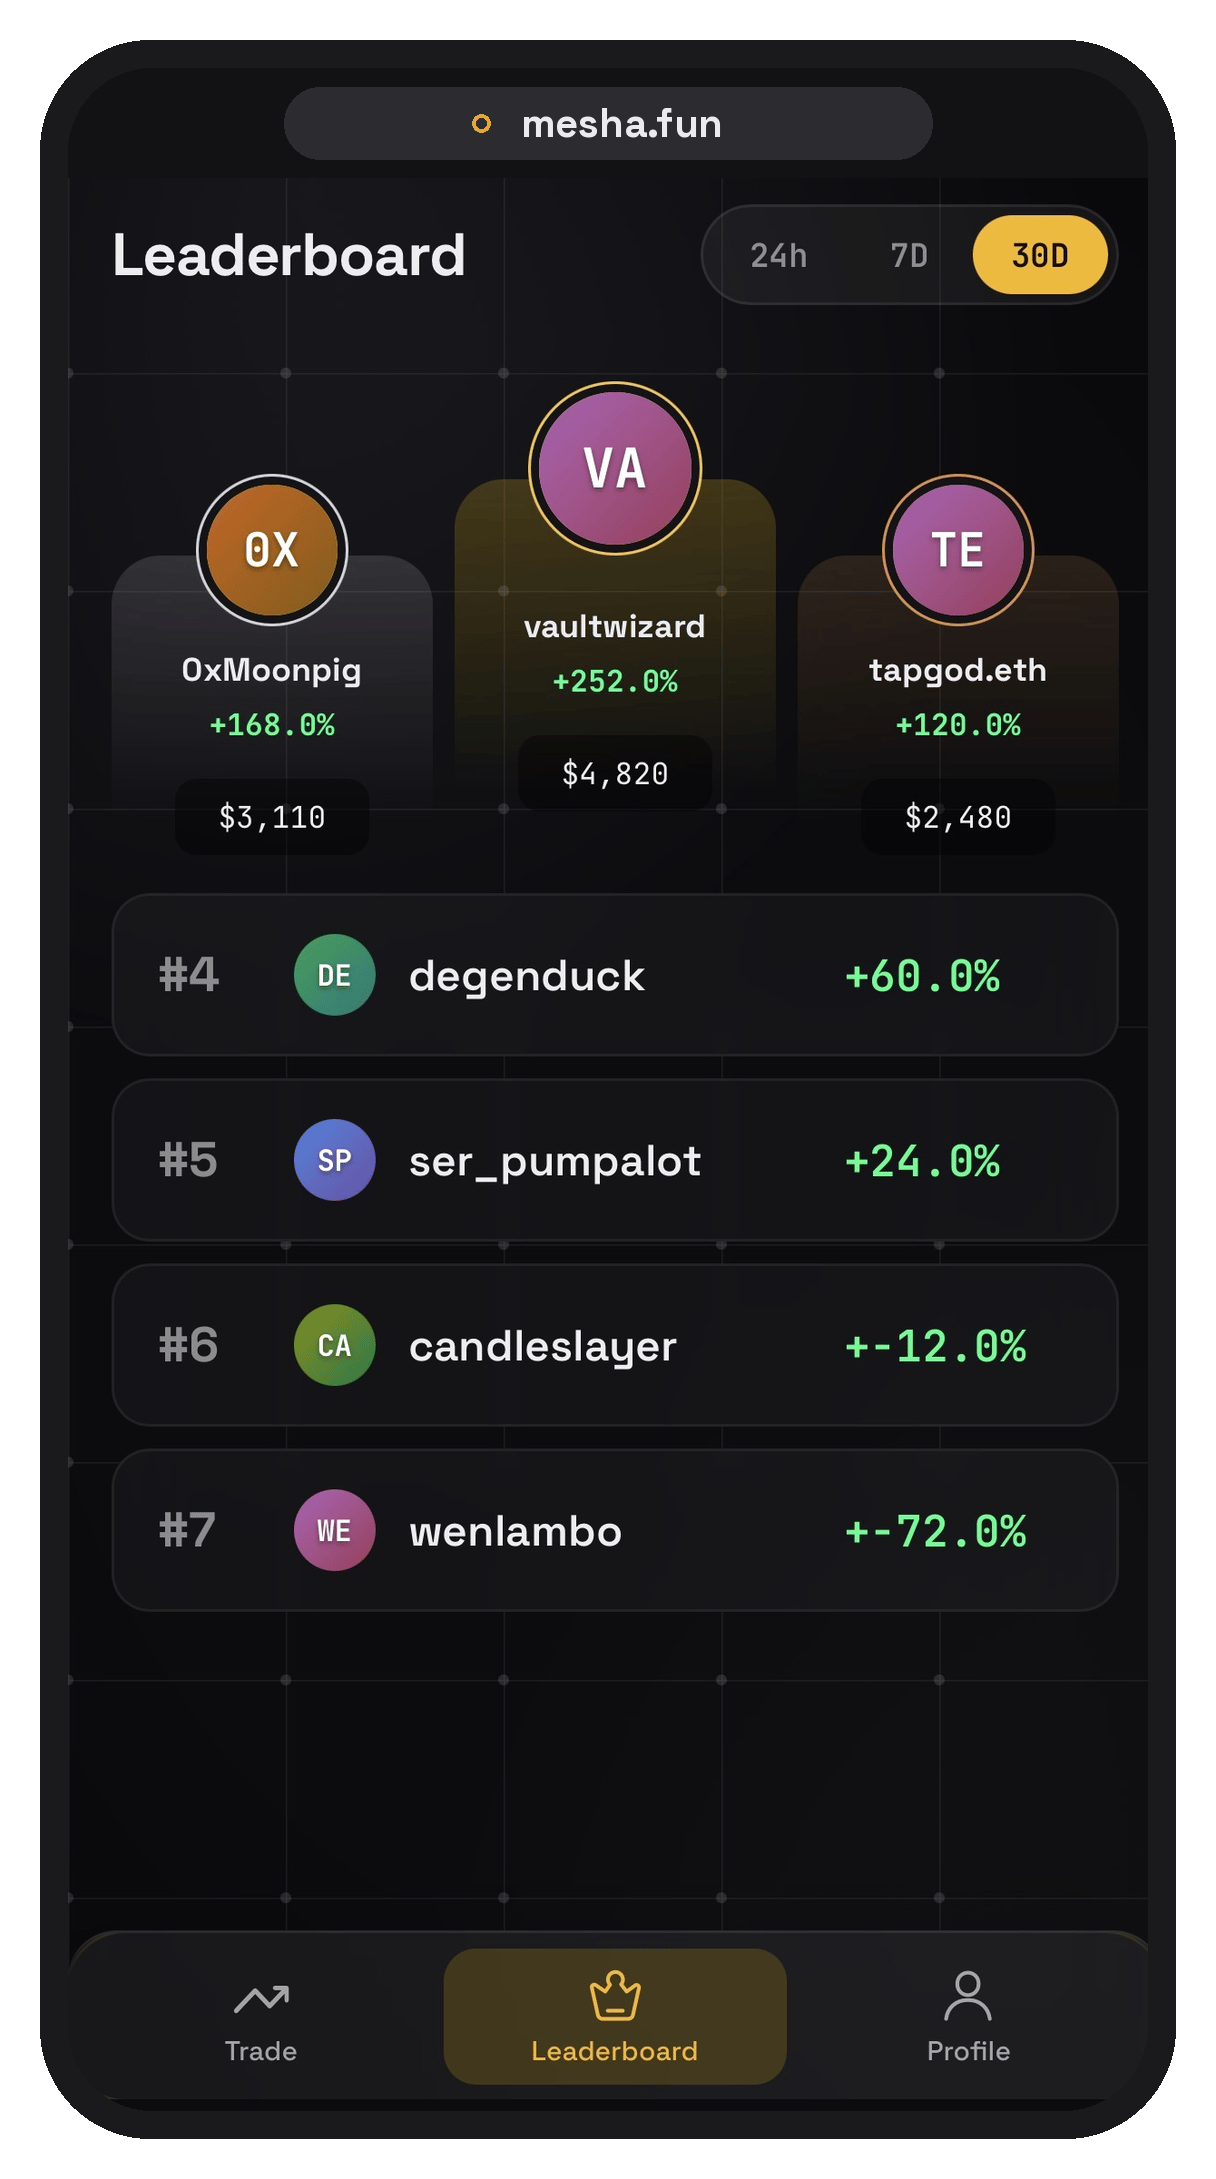
See how you stack up against other tappers.
## Climb the leaderboard
See how you stack up against other tappers.
 ## Share with friends
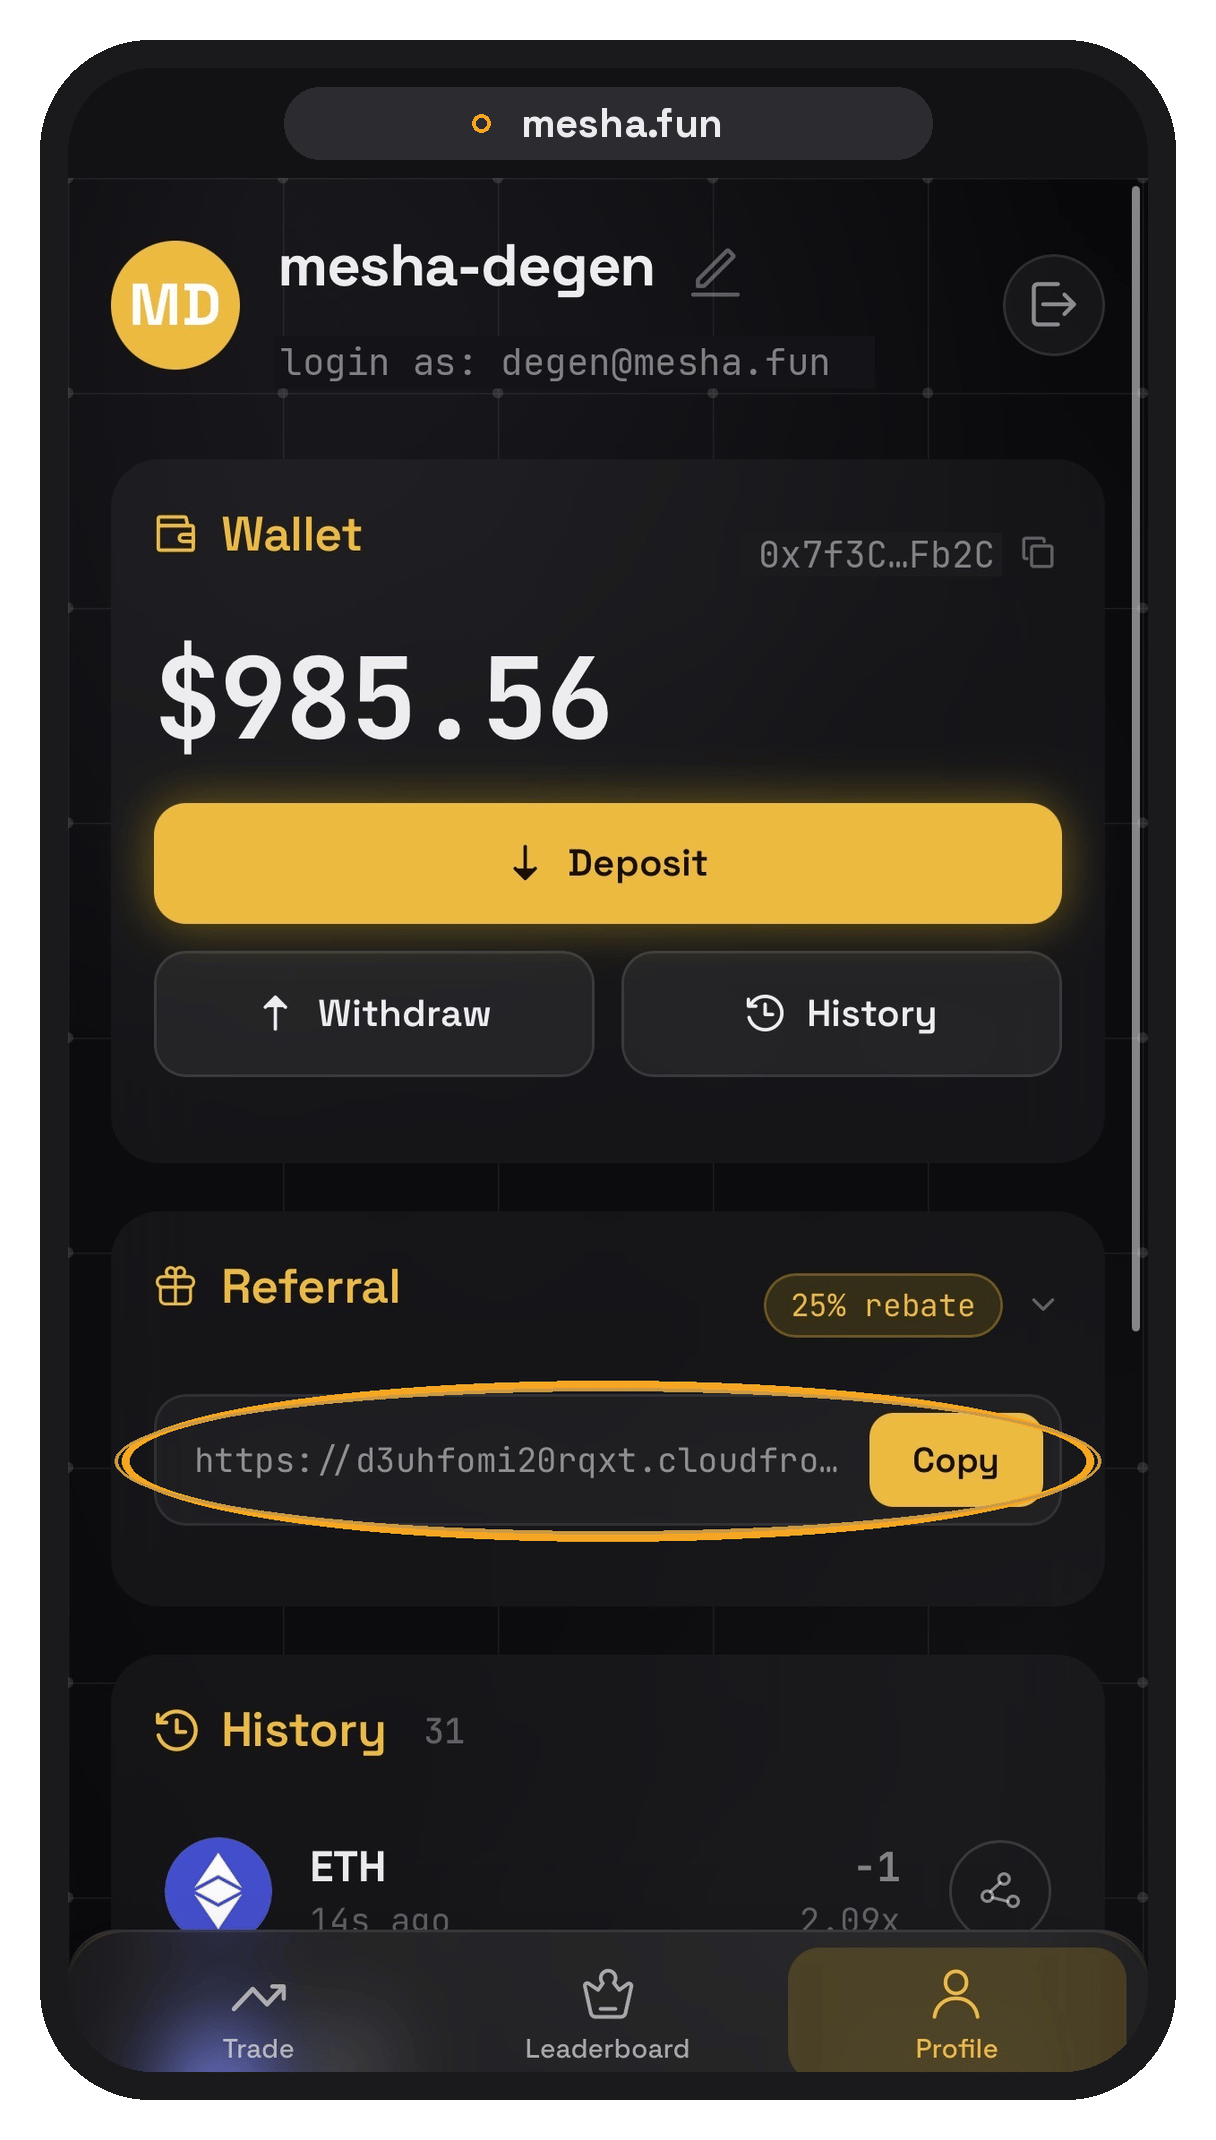
Grab your referral link in your profile and share Mesha with friends.
## Share with friends
Grab your referral link in your profile and share Mesha with friends.